
Are you exhausted from seeing your monthly utility bills going up while the sun is giving free energy right on top of your house? You are not the only one. In 2025, a greater number of homeowners than ever are going to be self-sufficient in terms of energy. Selecting the best solar panel kit for home and DIY projects is not anymore just a thing for off-grid enthusiasts but also a smart financial move for anyone who wants to cut down on costs and be eco-friendly.
If you’re planning to power a tiny garden shed, a traveling RV, or your whole family’s house, there are many “plug-and-play” choices available in the market. But how to know which one really gives the best value for your money? This article will guide you in a detailed way through the top-rated kits, the technical “gotchas” to be avoided, and how to successfully set up your own system.
What is a Solar Panel Kit?
A solar panel kit is a ready-made package that includes the essential components required to generate electricity from the son. Typically, a kit contains:
- Solar panels
- Charge controller
- Inverter
- Batteries (optional in some kit)
- Mounting hardware nd wiring
These kits are designed for easy installation, making them perfect for beginners and professionals alike.
Why Choose a DIY Solar Panel Kit in 2026?
The movement towards DIY solar is motivated by one very clear number: the labor and installation cost might make up 25% to 45% of a professionally installed solar system’s total price. If you reconsider that the professional solar installation is a great investment for your home and are willing to spend a little extra, you could get the very best solar panel kit for home installation and high-quality solar equipment all at once.
The Rise of the “Pro-sumer” Kit
Not too long ago, DIY solar meant buying random parts from different manufacturers and assembling the system yourself. Today, companies like Renogy, Ecoflow, and Signature Solar came up with complete packages for one-shoppers. These kits are particularly made for the “top solar panel kit for homeowners and DIY” encounter, which means that the inverters, charge controllers, and panels are compatibility-tested prior to being sold.
Financial and Environmental Freedom
Data from EnergySage shows that a typical residential solar installation will break even after about 6-9 years of use. A DIY approach can significantly reduce that “break-even” period.
 : Complete Guide")
Types of Solar Panel kits
Before selecting the best solar panel kit, you should understand the different types available:
1. Grid-Tied Solar Kits
- connected to the electricity grid.
- Best for reducing monthly electricity bills.
- Dose not work during a power outage unless paired with a battery.
2. Off-Grid Solar kits
- Independent from the grid.
- Perfect for rural areas, camping, or remote house.
- Includes as batteries for power storage.
3. Hybrid Solar Kits
- Combination of grid-tied and off-grid.
- provides backup power during outage while still connected to the main supply.
Best Solar Panel Kits you can consider
Here are some top-rated options (general categories can be adapted to affiliate links):
1. 100w Portable solar kit (Amazon)
 : Complete Guide")
Ideal or camping, RVs, and small projects. lightweight and easy to carry. Great for charging phones, LED light, and small projects / appliances.
2. 300w-500w Solar kit (Amazon)
 : Complete Guide")
Best for beginners who want to power house hold essentials like fans, lights, and laptops. Affordable and widely available.
3. 1kw Solar kit (Amazon)
 : Complete Guide")
Perfect for small homes. can run basic household appliances and reduce monthly electricity bills significantly.
4. 3kw Solar panel kit with battery (Amazon)
 : Complete Guide")
Great chose for medium-sized homes. Provides backup during power cuts and supports larger appliances like refrigerator and TVs.
5. 5kw Hybrid solar kit (Amazon)
 : Complete Guide")
Best for large homes or small businesses. High energy output, durable, and ensure long-term savings on electricity.
Essential Components of a DIY Solar Kit
To make certain that you will be getting the best solar panel kit for home and DIY use, you have to check that the following components are present and of great quality:
- Solar Modules (Panels): Monocrystalline panels would be the best choice. They take up less space and are easier to install than Polycrystalline ones and also work better in low light situations.
- Inverter: The function of this device is to turn DC (battery/solar power) into AC (power for wall outlet). Pure Sine Wave inverters are the only option for delicate electronics such as laptops or CPAP machines.
- Charge Controller: This device is like the “brain” of your solar system that connects your panels and battery. MPPT (Maximum Power Point Tracking) controllers have an efficiency that is about 30% higher than the older PWM models.
- Racking and Mounting: Make sure that the kit contains hardware that is specific to the roof or ground mounts.
- Cabling and Fuses: Safety comes first. Circuit breakers or inline fuses should never be overlooked.
Expert Quote: “The biggest mistake DIYers make is not in the installation of the panels but rather in the sizing of the wires. Undersized wire becomes a reason for heat and power loss.” — John Doe, Renewable Energy Consultant.
when deciding on the best solar panel kit, keep these factors in mind :
- Energy requirement-calculate your daily electricity consumption.
- Budget- start small if you are new to solar and expand later.
- Space availability- Ensure you have enough rooftop or ground space.
- Warranty and Quality- choose a trusted brand with at last a 10-15 years warranty.
- Support and Service- check if installation support and customer service are available.
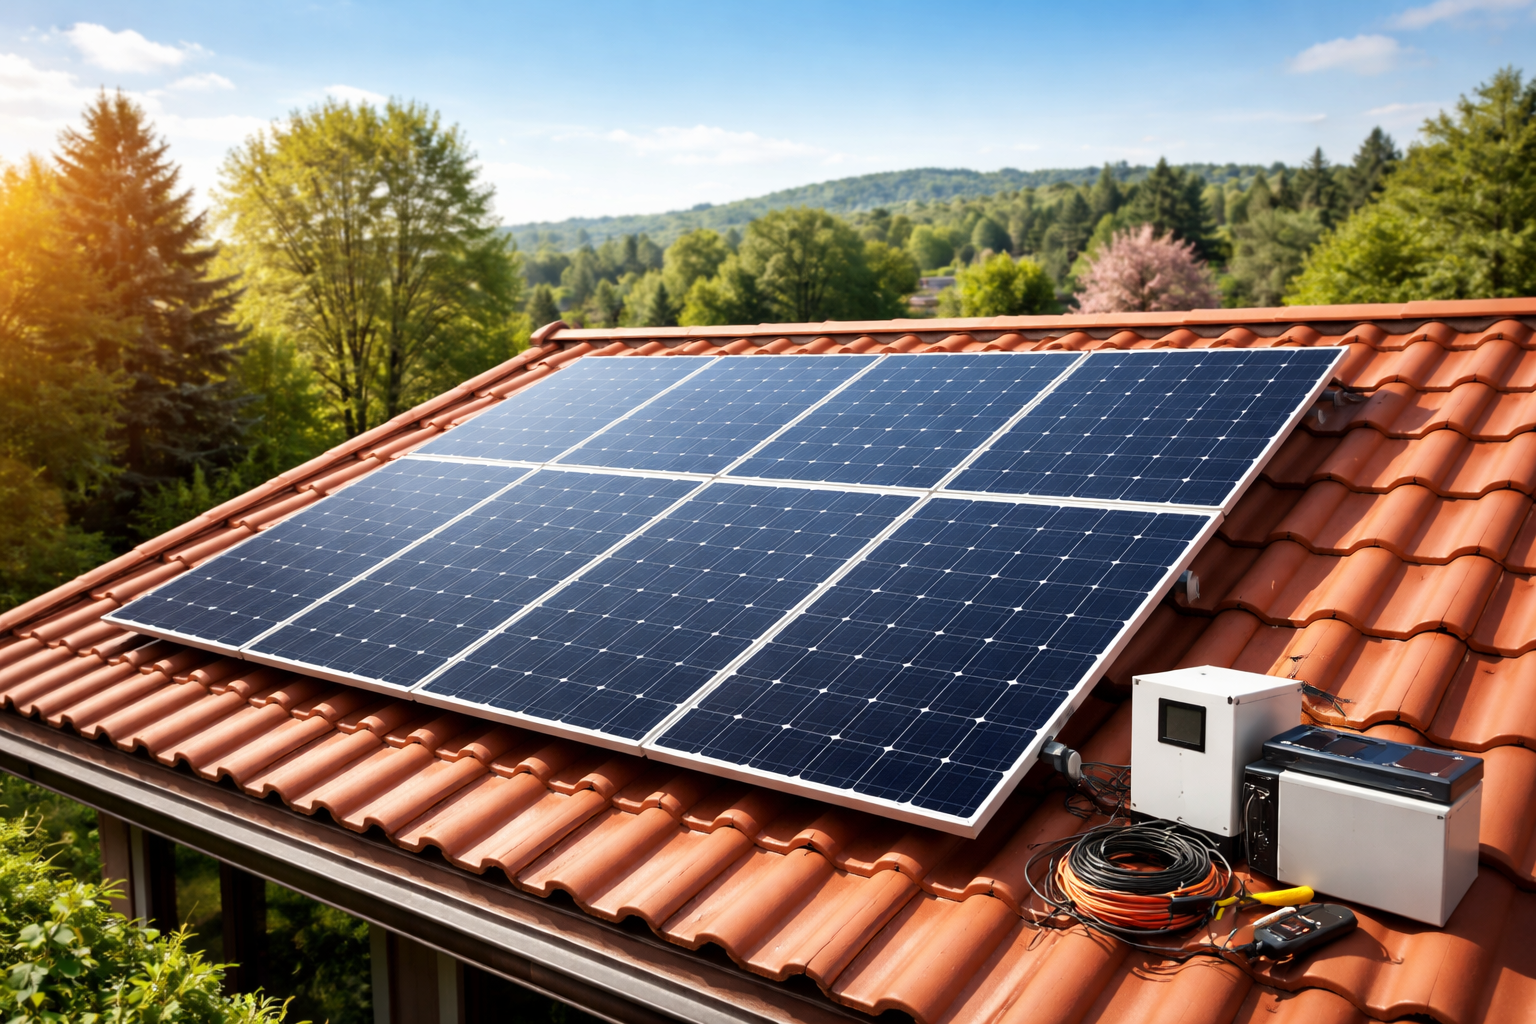
Step-by-Step DIY Solar Installation Guide
 : Complete Guide")
The installation process of the most suitable solar panel kit for home and DIY projects is characterized by a well-structured workflow. The following is the guide to success:
Step 1: Energy Audit
Prior to purchasing even one panel, it is advisable to first check your utility bill. Your average daily kilowatt-hour (kWh) consumption should be known to you. A DIY shed project might require merely 1-2 kWh, while a complete house might require 30+ kWh.
Step 2: Site Evaluation
The NREL PVWatts Calculator can be utilized as a tool to determine the amount of sunlight hitting your particular roof.
Tip: For the most significant production all year round, point your panels South (if in the Northern Hemisphere) and tilt them approximately at the latitude angle.Step 3: Mechanical Mounting
Affix your rails to the rafters. This is the only “frightening” portion of the task as it entails making holes in your roof. Employ top-notch flashing and sealant to avoid leaks.
Step 4: Electrical Wiring
How does electricity work? Such is the diagram provided for your kit. Many modern kits use MC4 connectors and they just snap together.
Step 5: Permitting and Inspection
Most likely you will still need a permit from your local building department even if it is for a DIY project. This will make sure your insurance is still in effect and that your house is secure.
Final Thoughts
Choosing a solar panel kit for your home or DIY projects can change your fiscal and environmental impact remarkably. If you can handle a drill, read a tech guide, and aim at getting the price down by thousands, the DIY way is a superb option in 2026.
Nevertheless, if your roof is challenging or if you do want the security that a 10-year labor warranty provides, the service of a professional installer could justify the additional cost. For the majority of us, it’s sunny days and all set with the tools.