
What Is a Battery Polarity Tester?
A battery polarity tester is a small device used to identify the positive (+) and negative (–) terminals of a battery. It ensures correct connection and prevents damage to your circuit or components due to reverse polarity.
When building circuits, especially with DIY electronics projects, connecting a battery the wrong way can instantly burn out ICs, LEDs, or sensors. A battery polarity tester helps you quickly verify polarity before connecting power to your project.
Why You Need One
If you’re a beginner or hobbyist working on projects like:
- DIY Solar Light Circuit for Home and Garden
- Top 10 DIY Sensor-Based Projects for Students
- ESP32 Pinout and Connection Guide
- What Is a Breadboard and How to Use It
Then a battery polarity tester is an essential tool to keep in your kit.
Components Required
You can build a battery polarity tester easily with basic components available on Amazon.
Here’s the list (with affiliate links):
| Component | Quantity | Buy Link |
|---|---|---|
| Red LED | 1 | Buy on Amazon |
| Green LED | 1 | Buy on Amazon |
| 1kΩ Resistors | 2 | Buy on Amazon |
| Breadboard | 1 | Buy on Amazon |
| Jumper Wires | As needed | Buy on Amazon |
| Multimeter | 1 | Buy on Amazon |
You can also check out our full post on Essential DIY Electronics Tools for more must-have items.
Working Principle of a Battery Polarity Tester
The working is simple:
- When the positive terminal of a battery connects to the red LED, it glows, showing correct polarity.
- If the polarity is reversed, the green LED lights up, indicating wrong connection.
It works because LEDs allow current in only one direction.
When the polarity changes, the current path changes, activating the opposite LED.
Circuit Diagram
Below is the proper schematic diagram of the DIY battery polarity tester.

Step-by-Step Construction Guide
Follow these steps to make your own battery polarity tester:
Step 1: Prepare the Breadboard
lace the red and green LEDs on the breadboard. Ensure both LEDs are oriented opposite to each other:
- Red LED’s anode (long leg) faces the battery positive terminal.
- Green LED’s anode faces the negative side.
Step 2: Add Resistors
Connect a 1kΩ resistor in series with each LED to limit current.
This protects the LEDs from burning out when testing higher voltage batteries.
Step 3: Connect Jumper Wires
Use jumper wires to connect the LEDs and resistors properly:
- One end of each resistor connects to the LED cathode.
- The other ends connect together to a common ground.
Step 4: Attach the Battery Terminals
Now, attach your test battery leads:
- Positive terminal → Red LED input
- Negative terminal → Common ground
Step 5: Test Your Circuit
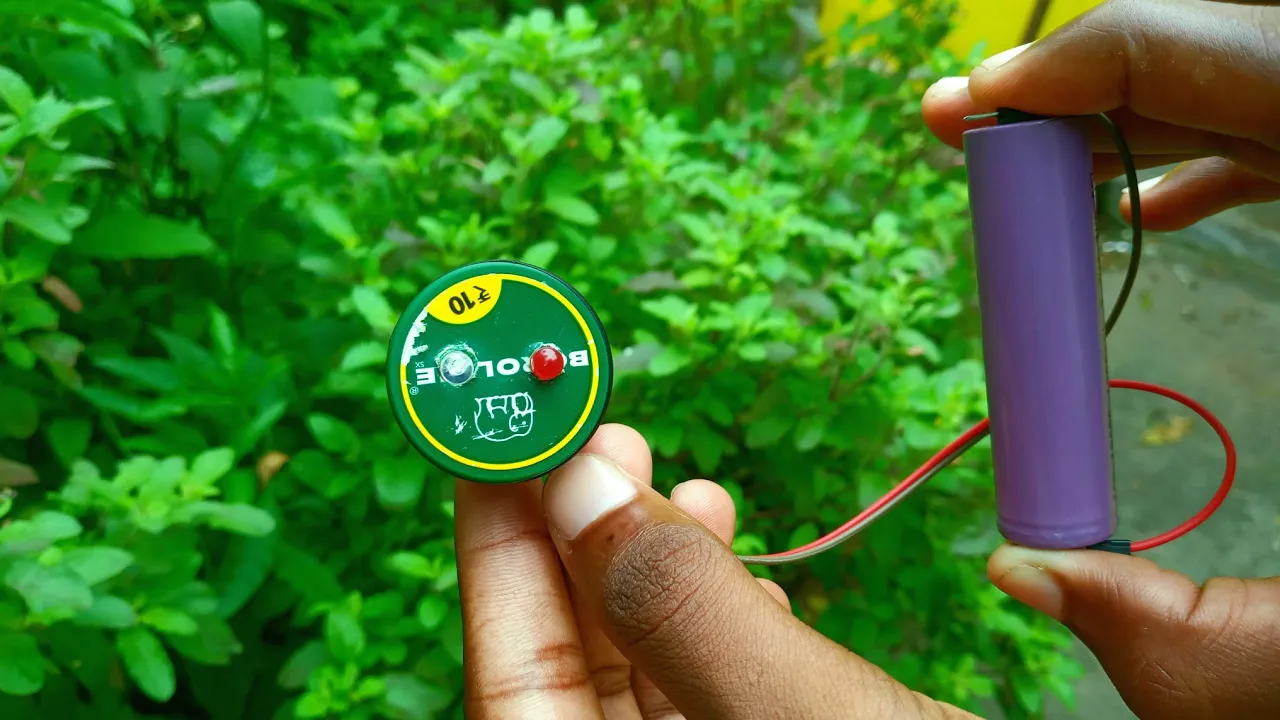
Insert a 1.5V AA battery or 9V battery and observe:
- Red LED = Correct polarity
- Green LED = Reversed polarity
How to Use the Battery Polarity Tester
- Turn Off Power before testing.
- Connect the battery leads to the tester.
- Observe the LED indication:
- 🔴 Red LED → Correct polarity
- 🟢 Green LED → Reverse polarity
You can test batteries ranging from 1.5V to 12V safely, depending on resistor ratings.
Optional: Build a Permanent PCB Version
If you want a compact, permanent version, you can transfer this design to a PCB.
You’ll need:
- A small perfboard or custom printed circuit board
- Soldering tools (Buy Soldering Kit on Amazon)
- Enclosure box to protect the circuit
💬 You can follow our guide on Best Soldering Kit to learn how to solder and make clean PCB connections
Understanding LED Orientation (Important!)
Most beginners get confused about LED orientation.
Here’s a quick way to remember:
- Long leg = Positive (Anode)
- Short leg = Negative (Cathode)
If you’re unsure, check it with a Multimeter in Diode Mode.
This helps you identify the forward direction before placing LEDs in the circuit.
Tips for Better Accuracy
- Use different LED colors for clarity.
- Always include resistors to prevent LED burn-out.
- You can add a buzzer for sound indication.
- Enclose the circuit for a professional look.
Testing Different Battery Types
You can use this tester for:
- AA/AAA 1.5V cells
- 9V batteries
- 12V lead-acid batteries
- Li-ion 3.7V cells
Just ensure you use proper resistor values to limit current.
For 12V testing, increase resistor value to 2.2kΩ.
Advanced Version: Add a Buzzer and Transistor
Want a more advanced version?
You can add a buzzer circuit with a PNP/NPN transistor.
When the polarity is correct:
- Red LED and buzzer turn ON.
If reversed: - Green LED glows but buzzer stays off.
This helps avoid connecting circuits incorrectly, especially in Arduino or ESP32 projects.
Applications of Battery Polarity Tester
- Checking battery polarity before connecting to microcontrollers
- Testing polarity in solar panels
- Polarity check for DC adapters
- Educational demonstrations
- DIY lab or home electronics setup
Common Mistakes to Avoid
- Forgetting to use current-limiting resistors.
- Reversing LED polarity during connection.
- Using low-rated LEDs for high-voltage batteries.
- Not labeling your test probes (positive/negative).
Summary Table
| Parameter | Specification |
|---|---|
| Input Voltage | 1.5V to 12V DC |
| Indication | Dual LED (Red & Green) |
| Power Source | Test Battery |
| Circuit Type | Passive |
| Skill Level | Beginner-Friendly |
- Best DIY Electronics Project Kits
- Best Glue Guns for DIY and Craft Projects
- Best Top 5 Rechargeable Battery For DIY Project’s
- How to Make a DIY Rechargeable LED Light at Home
Conclusion
Making your own Battery Polarity Tester is one of the easiest and most practical electronics projects.
It helps you avoid costly mistakes, protect components, and learn basic circuit design.
You can build it using simple tools and inexpensive components from Amazon.
Once built, this small gadget becomes an essential part of your DIY toolkit — just like a multimeter or breadboard.
If you loved this project, check out our related posts:
👉 DIY Solar Light Circuit for Home and Garden
👉 10 Easy Arduino Projects You Can Build at Home